

Conda#
The purpose of this document is to make a how-to for having a conda package build on Jenkins. This document includes templates for accomplishing this goal. The first step is to create a conda recipe for a CSC. A template for doing so has been included on this page.
Creating the Recipe#
Create a conda folder inside the root directory CSC repository.
Then copy the contents of the meta.yaml template into a meta.yaml file inside of the conda folder.
Change the csc-name so that it becomes the name of the csc.
Another thing is to add requirements so that they match the CSC’s.
Keep in mind that the test requirements need to include test framework dependencies.
It is suggested to sort dependencies as that increases readability of the recipe.
To find the configuration repo, look for the get_config_pkg() in the CSC class.
In order to distinguish noarch builds for different Python versions, the conda build string needs to be customized.
This is done with the string directive included in the meta.yaml template below.
{% set data= load_setup_py_data() %}

package:
    name: csc-name
    version: {{ data.get('version') }}

source:
    path: ../

build:
    noarch: python
    script: {{ PYTHON }} -m pip install --no-deps --ignore-installed .
    string: "py{{ PY_VER | replace('.', '') }}{{ PKG_HASH }}_{{ PKG_BUILDNUM }}"

test:
    requires:
        - ts-conda-build =0.5
        - ts-xml {{ xml_version }}
        - ts-salobj {{ salobj_version }}
    source_files:
        - pyproject.toml
        - python
        - tests
    commands:
        - pytest

requirements:
    host:
        - pip
        - python {{ python }}
        - setuptools >={{ setuptools}}
        - setuptools_scm ={{ setuptools_scm}}
    run:
        - python {{ python }}
        - ts-salobj
        - ts-xml
        # Add any other runtime dependencies here
Locally test the recipe in the develop-env:develop image by using the following
unsetup ts_config_{package} # this is required otherwise the EV will not picked up correctly by conda build
cd path/to/package/root
TS_CONFIG_PACKAGE_DIR=~/saluser/repos/ts_config_package conda build --variants "{salobj_version: '', idl_version: ''}" --no-long-test-prefix .
Creating the Jenkinsfile#
Once that is passing, move onto creating the Jenkinsfile.conda file.
A template has been included below.
It takes the following arguments
- configuration_repo:
A list of configuration repos, can be empty, one or many.
- package_name:
The name of the package.
- module_namespace:
This is the namespace location for the module, for the coverage extension.
- arch:
This is the architecture of the conda package to create. It can be
linux-64,aarch64ornoarch. It may be omitted and defaults tolinux-64. When specifyingnoarchin the conda recipe, this argument must be set tonoarch.- upload_dev:
This specifies if dev packages should be uploaded to the conda repo or not. It defaults to
falsewhich means that the dev packages will not be uploaded. This is in line with the TSSW conda policy. In some cases where a package represents a library that other packages may use, like ts-tcpip and ts-utils, it should be set totrue.
@Library('JenkinsShared')_
CondaPipeline(["configuration_repo"], "package_name", "module_namespace", "arch")
Adding the Job#
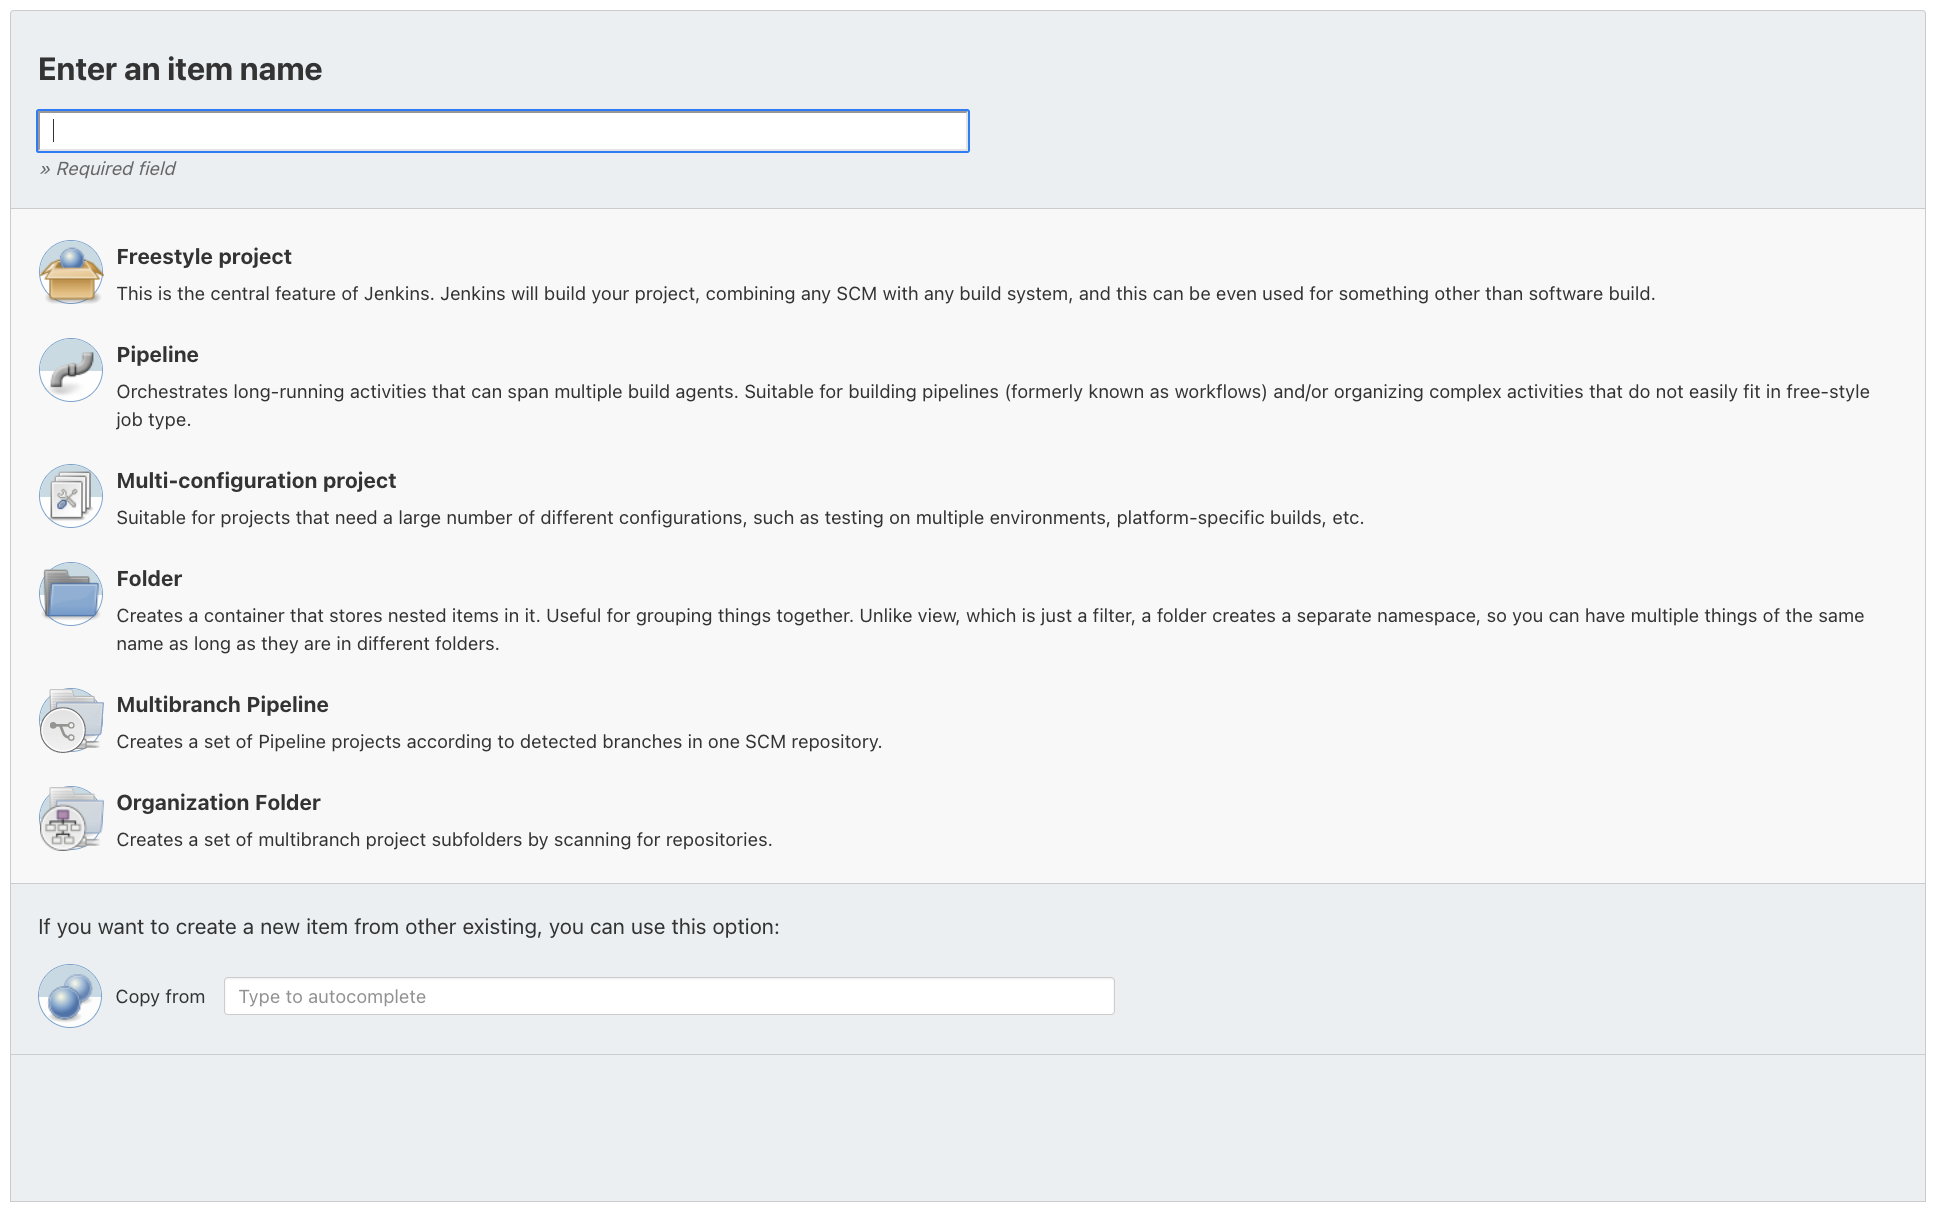
Add the job by creating a new item on the Jenkins server and selecting Multibranch Pipeline.
The Daily Workflows assume that Conda packaging jobs follow a very specific naming convention. The name should begin with a meaningful string, usually the package name, with NO special character. The rest of the job name should just be the string _conda_package, i.e.
<PackageName>_conda_package
This ensures the job is displyed in the Conda Jobs view in Jenkins, as well included in the Daily Workflows, once the broker job is updated to add this new Conda packaging build. Simply make a request to the build engineer to get the job added properly.
In Branch Sources click the github source selection and type in the path of the repo into the Respository HTTPS URL.

Then in the Behaviors subsection click the add button. Find the following behaviors and configure them as shown in the image below:
Discover BranchesSelect
Merging the pull request with the current target branch revision
Discover tagsFilter by name (with wildcards)Set
Includeto*Set
Excludetotickets* main*(a space-separate list)
Clean before checkoutCustom GitHub Notification ContextPrune stale remote-tracking branchesPrune stale tags

Check the Apply Suffix box and in the label field add /conda to the end of the value.
Next, add the All branches get the same properties in the Property strategy sub-section.
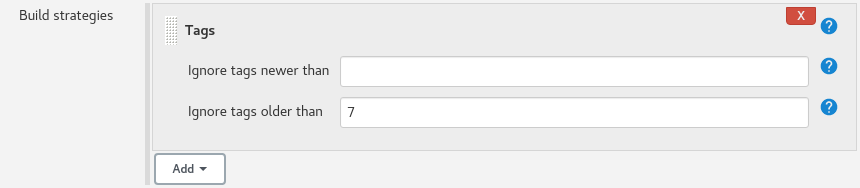
Then in Build strategies click the add button and find the Tags strategies and leave the default values.

Then in Build Configuration add .conda to the Script Path field.

Finally, click Apply and Save.
Warning
If your job has a build strategy for regular branches, remove it as these jobs are not yet ready to be run on PR or branches.